Basic JavaScript interop for dynamic UIs focuses on using JavaScript alongside server-rendered or framework-based applications to enhance interactivity.
It enables features such as handling user events, updating content without full page reloads, and improving responsiveness.
This approach helps create engaging user interfaces while keeping application logic organized.
Understanding DOM and JavaScript Interop
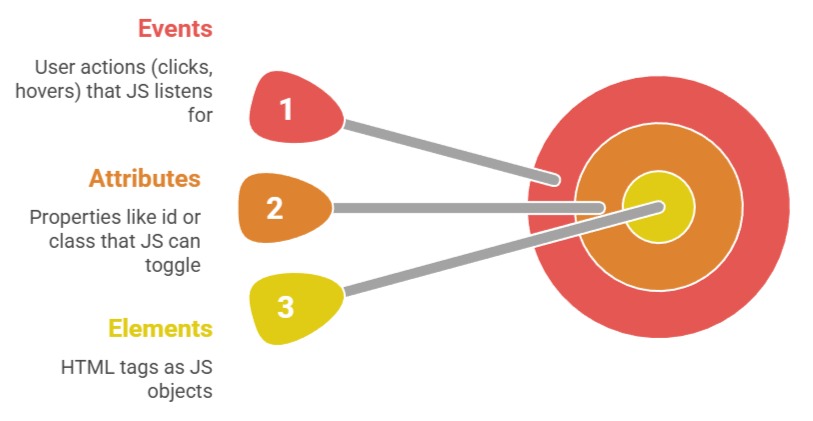
The DOM (Document Object Model) is like a living blueprint of your webpage, represented as a tree of objects that JavaScript can read, modify, or delete.
Interop happens when JS "talks" to this tree, enabling dynamic changes without page reloads—a core best practice in today's single-page applications (SPAs).
Think of the DOM as your HTML's nervous system: events trigger JS actions, updating the UI instantly. This foundation powers frameworks like React later in the course.
Key Concepts
How the DOM Tree Works
Every HTML document loads as a hierarchical tree:
1. Root: <html> node.
2. Branches: <head>, <body>, child elements like <div>.
3. Leaves: Text nodes or empty elements.
JS accesses this via document object. For example:
const heading = document.querySelector('h1');  // Grabs first <h1>

heading.textContent = 'Hello, Dynamic World!'; // Updates instantly
This interop follows W3C DOM Level 4 standards (current as of 2025), ensuring cross-browser compatibility.
Selecting and Manipulating DOM Elements
Selecting elements is step one in interop—it's how JS targets parts of the DOM for changes. Use modern methods like querySelector() for precision, avoiding outdated getElementById() alone.
These selectors mimic CSS, making them intuitive if you've mastered styling. Once selected, manipulate properties, styles, or content to create dynamic effects.
Core Selection Methods

Pro Tip: querySelectorAll() returns a static NodeList—convert to array with [...nodeList] for modern methods like forEach().
Practical Manipulation Example
Let's dynamically style a button on hover (no CSS :hover needed)
<button id="myBtn" style="padding: 10px;">Click Me</button>const btn = document.getElementById('myBtn');
btn.addEventListener('mouseover', () => {
btn.style.backgroundColor = 'blue';
btn.textContent = 'Hovered!';
});
btn.addEventListener('mouseout', () => {
btn.style.backgroundColor = '';
btn.textContent = 'Click Me';
});This creates smooth, JS-driven transitions—perfect for custom UIs.
Handling Events for Interactivity
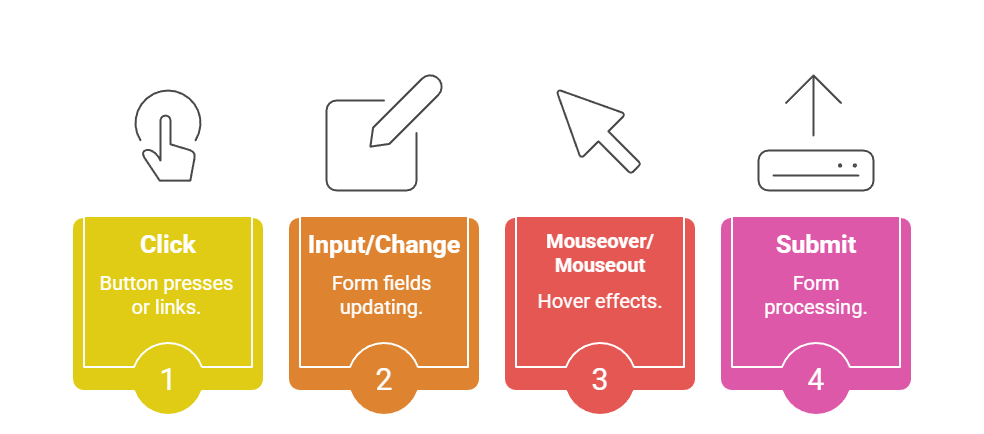
Events are the heartbeat of dynamic UIs: they detect user input and trigger JS responses. Event listeners attach functions to elements, enabling real-time interop without bloating HTML.
Best Practice: Use addEventListener() for flexibility—it allows multiple listeners per element and clean removal. This aligns with MDN Web Docs recommendations for performant code.
Common Events and Their Uses
Step-by-Step: Building a Dynamic Counter
1. HTML Setup
<div id="counter">0</div>

<button id="increment">+1</button>

<button id="decrement">-1</button>
2. JS Interop:
let count = 0;

const display = document.getElementById('counter');

const incBtn = document.getElementById('increment');

const decBtn = document.getElementById('decrement');


incBtn.addEventListener('click', () => {

  count++;

  display.textContent = count;

  display.style.color = count > 0 ? 'green' : 'red';

});


decBtn.addEventListener('click', () => {

  count--;

  display.textContent = count;

  display.style.color = count > 0 ? 'green' : 'red';

});
3. Test It: Open in browser—watch the counter update color dynamically!
This example demonstrates full interop: selection → events → manipulation.
Creating and Removing Elements Dynamically
Static HTML limits scalability; dynamic creation lets UIs grow with data (e.g., adding cart items). Use createElement(), appendChild(), and remove() for efficient interop.
Modern browsers optimize this via Virtual DOM concepts (preparing for React), but we'll stick to vanilla JS.
Process for Dynamic Lists
1. Create: const li = document.createElement('li');
2. Customize: li.textContent = 'New Item'; li.classList.add('item');
3. Insert: document.querySelector('ul').appendChild(li);
4. Remove: li.remove(); (ES6+ standard).
Full Example: Todo Adder
function addTodo() {

  const input = document.querySelector('#todoInput');

  const ul = document.querySelector('#todoList');

  const li = document.createElement('li');


  li.textContent = input.value;

  li.addEventListener('click', () => li.remove());

  ul.appendChild(li);


  input.value = '';  // Clear input

}
Attach to a button's onclick—instant dynamic list!
Performance Best Practices
1. Batch DOM updates (use DocumentFragment for many elements).
2. Avoid innerHTML for user input (XSS risk—use textContent).
3. Debounce frequent events like scroll or resize.
Integrating with Forms for Real-Time Validation
Forms are prime for interop: validate inputs live, show errors, and submit data dynamically. Use input events for instant feedback.
Validation Table

Example Snippet:
const emailInput = document.querySelector('#email');

const errorDiv = document.querySelector('#error');


emailInput.addEventListener('input', () => {

  if (!emailInput.value.match(/^\S+@\S+\.\S+$/)) {

    errorDiv.textContent = 'Please enter a valid email';

    errorDiv.style.display = 'block';

  } else {

    errorDiv.style.display = 'none';

  }

});
Users see green-check validation—no page reloads!