AWS CodePipeline and CodeBuild are solid choices for a fully AWS-native CI/CD setup. But in the real world, many teams use GitHub Actions or Jenkins — either by preference, existing investment, or because their workflow spans multiple cloud providers.
GitHub Actions on AWS
GitHub Actions is GitHub's built-in CI/CD platform. Workflows are defined in YAML files stored inside your repository under .github/workflows/. They trigger automatically on events — a push, a pull request, a schedule, or a manual trigger.
Connecting GitHub Actions to AWS
To deploy to AWS from GitHub Actions, you need to give it permission to interact with your AWS account. There are two ways to do this.
Option A — IAM User Access Keys (Simple but less secure)
Store your AWS credentials as GitHub Secrets and reference them in the workflow:

yaml
- name: Configure AWS credentials
uses: aws-actions/configure-aws-credentials@v2
with:
aws-access-key-id: ${{ secrets.AWS_ACCESS_KEY_ID }}
aws-secret-access-key: ${{ secrets.AWS_SECRET_ACCESS_KEY }}
aws-region: ap-south-1
```
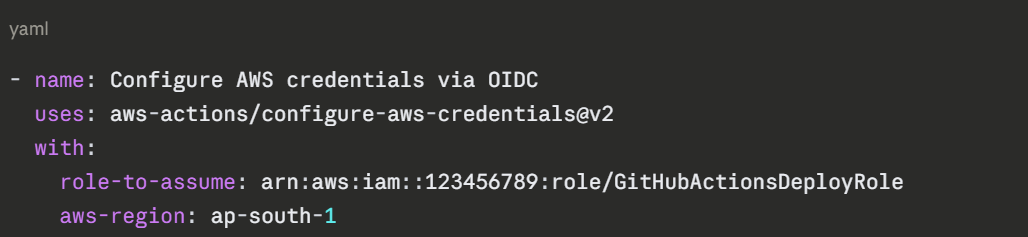
**Option B — OpenID Connect (OIDC) — Recommended**
OIDC lets GitHub Actions assume an IAM Role directly — no long-lived access keys stored anywhere. This is the most secure approach.
```
AWS Console → IAM → Identity Providers → Add Provider
→ Provider type: OpenID Connect
→ Provider URL: https://token.actions.githubusercontent.com
→ Audience: sts.amazonaws.com
Then create an IAM Role that trusts this identity provider and attach the permissions your workflow needs. Reference it in your workflow:
A Complete GitHub Actions Workflow for AWS
yaml
# .github/workflows/deploy.yml
name: Build and Deploy to AWS
on:
push:
branches: [main]
permissions:
id-token: write
contents: read
jobs:
deploy:
runs-on: ubuntu-latest
steps:
- name: Checkout code
uses: actions/checkout@v3
- name: Set up Python
uses: actions/setup-python@v4
with:
python-version: '3.11'
- name: Install dependencies and run tests
run: |
pip install -r requirements.txt
pytest tests/
- name: Configure AWS credentials
uses: aws-actions/configure-aws-credentials@v2
with:
role-to-assume: arn:aws:iam::123456789:role/GitHubActionsDeployRole
aws-region: ap-south-1
- name: Deploy to S3
run: |
zip -r app.zip src/
aws s3 cp app.zip s3://my-deployment-bucket/app.zip
- name: Trigger CodeDeploy
run: |
aws deploy create-deployment \
--application-name my-app \
--deployment-group-name production \
--s3-location bucket=my-deployment-bucket,key=app.zip,bundleType=zip
Jenkins on AWS
Jenkins is an open-source automation server — one of the oldest and most widely used CI/CD tools in the world. Unlike GitHub Actions, Jenkins is self-hosted — you run it on your own infrastructure. On AWS, this typically means running Jenkins on an EC2 instance.
Jenkins is highly flexible and has thousands of plugins, making it suitable for complex, customised pipelines. However, it requires more setup and ongoing maintenance than managed services.
Setting Up Jenkins on AWS EC2
bash
# Launch an EC2 instance (Amazon Linux 2 or Ubuntu)
# Then SSH into it and install Jenkins
# Install Java (Jenkins requires it)
sudo apt update
sudo apt install -y openjdk-17-jdk
# Add Jenkins repository and install
curl -fsSL https://pkg.jenkins.io/debian/jenkins.io-2023.key | \
sudo tee /usr/share/keyrings/jenkins-keyring.asc > /dev/null
echo deb [signed-by=/usr/share/keyrings/jenkins-keyring.asc] \
https://pkg.jenkins.io/debian binary/ | \
sudo tee /etc/apt/sources.list.d/jenkins.list > /dev/null
sudo apt update
sudo apt install -y jenkins
sudo systemctl start jenkins
sudo systemctl enable jenkins
```
Access Jenkins at `http://your-ec2-public-ip:8080`.
### Connecting Jenkins to AWS
Attach an IAM Role to your EC2 instance with the permissions Jenkins needs — S3 access, CodeDeploy access, ECR access, and so on. Because Jenkins runs on EC2, it inherits the instance role automatically — no access keys needed.
```
AWS Console → EC2 → Select your Jenkins instance
→ Actions → Security → Modify IAM Role
→ Attach your Jenkins IAM Role
Jenkinsfile — Defining Your Pipeline as Code
Jenkins pipelines are defined in a file called Jenkinsfile stored in your repository root. This is the Jenkins equivalent of buildspec.yml or a GitHub Actions workflow file.
groovy
pipeline {
agent any
environment {
AWS_REGION = 'ap-south-1'
S3_BUCKET = 'my-deployment-bucket'
}
stages {
stage('Checkout') {
steps {
checkout scm
}
}
stage('Install and Test') {
steps {
sh 'pip install -r requirements.txt'
sh 'pytest tests/ --verbose'
}
}
stage('Build') {
steps {
sh 'zip -r app.zip src/'
}
}
stage('Deploy to S3') {
steps {
sh 'aws s3 cp app.zip s3://${S3_BUCKET}/app.zip'
}
}
stage('Trigger CodeDeploy') {
steps {
sh '''
aws deploy create-deployment \
--application-name my-app \
--deployment-group-name production \
--s3-location bucket=${S3_BUCKET},key=app.zip,bundleType=zip \
--region ${AWS_REGION}
'''
}
}
}
post {
success {
echo 'Pipeline completed successfully.'
}
failure {
echo 'Pipeline failed. Check the logs.'
}
}
}
GitHub Actions vs. Jenkins vs. CodePipeline


Class Sessions
Sales Campaign

We have a sales campaign on our promoted courses and products. You can purchase 1 products at a discounted price up to 15% discount.